+ Reply to Thread
Page 3 of 3 FirstFirst 123
Results 21 to 23 of 23

Thread: Evaporator Hood Plans

  1. #21
    Join Date
    Feb 2009
    Location
    Spencer NY
    Posts
    81

    Default

    Quote Originally Posted by DavyJones View Post
    Smitty, Thanks! I was wondering what I was going to get. So your gutter inside is 1/2" x 1/2" The picture I did I have it 1/2" wide by 1/4" high but It's should be easy enough to change. I gave my drawing to my friend last night and I think he said bending that 1/4" might be a little difficult on his equipment and he might make it a bit bigger, I told him ok. How did you attach your squirrel fan? Did you put it inline with your stack? Any pictures of how you have that hooked up would be great.

    Thanks
    David
    DavyJones,
    I did not get a chance to put my pics on yet,802maple(very smart man)
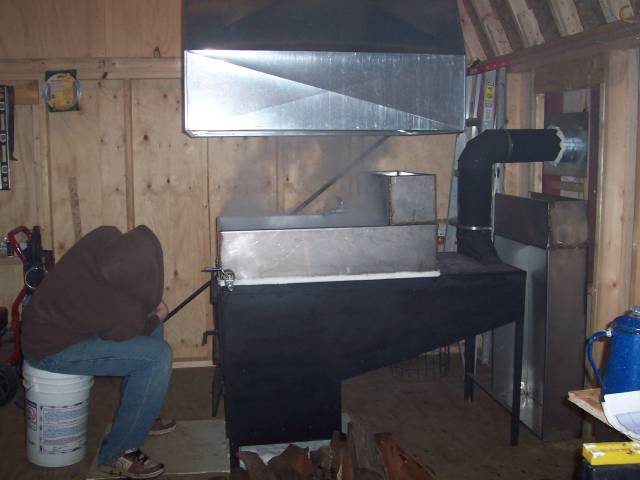
    has influenced me enough to build an air injection draft system. its been keeping
    me busy(between all the other stuff i am trying to get ready). Ihope to get the
    pics on here sunday nite. I did not forget.
    30"x10' Small Brothers on natural gas
    24' x 24' Sugarhouse
    500 taps (2011)
    Hopefully 600 on vac (2012)
    Homemade bottling equipment
    Father and Son operation with plenty
    of family and friends support
    Still expanding

  2. #22
    Join Date
    Feb 2007
    Location
    Rochester, PA
    Posts
    75

    Smile The hood was a success!

    My friend had me pick up the hood he made from the plans I drew up. I'll have to say it was impressive and big. I thought at first to big but after installing it and firing up the evaporator today I am glad it is oversized. I was able to keep it elevated off my pan about 6" or close to it without having steam leaking out the sides. A little steam does escape when you walk past and create a little breeze but nothing to really even consider. A cigarette in burning in an ashtray probably puts off more smoke....

    Initially I thought I was going to have to solder the sides on but they said it was easy enough for them to put them on with a Pittsburgh seam. It looks like a seam how you put a regular piece of duct together. How they did they I'm not sure but it's nice. The entire thing cost me $125 for the metal and him to put it all together for me. I have is suspended by some wire from 4 eye hooks I put in the top at each corner. The cable is a little thin but it works. I can't lift it by myself by the cable alone. I have to have my son grab one end of the hood while I grab the other end and then we can lift it and I can hook the cable onto a nail I have on the wall. If I can pick up a winch at a garage sale or something I'll probably mount that on the wall to make it a one man job until then it's not bad you're not lifting it up and down all the time so I can live with the 2 person method for now.

    Here are a couple of pictures. The first one was just when the sap was about to start to boil and the second one was when it was boiling pretty good and allot of steam was coming off.

    You can check out the rest of the pictures at our web site thebittners.net

    David, Jill, Emily & Jon Bittner
    2006 Tapping Seasion Pictures

    2007 Tapping Season Pictures

    40 Taps
    Quadzilla (Yamaha Bruin 350)
    Ford 8n
    ...and more toys that my wife just doesn't appreciate

  3. #23
    Haynes Forest Products Guest

    Default

    Nice job I like the cross bending it sure looks cool. Oh on the seams power tools its always about the tools. If anyone wants to know about radiant heat you will notice the young lad falling asleep in front of his arch his back is cold and his knees are ready to catch fire thats radiant heat at its best.

+ Reply to Thread
Page 3 of 3 FirstFirst 123

Posting Permissions

  • You may not post new threads
  • You may not post replies
  • You may not post attachments
  • You may not edit your posts